

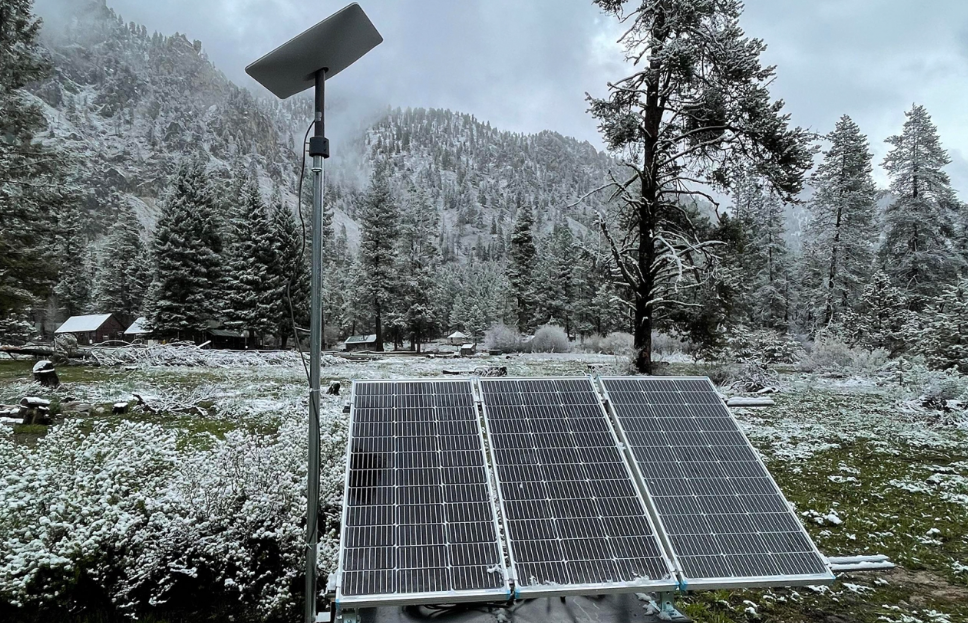
What the terminal actually needs
Before sizing anything, know the load. The Mini draws about 25–40 W and runs on 12V directly. The Gen3 (Standard) draws roughly 75–100 W and needs 48–57V PoE, which a DC-DC injector supplies from a 12V/24V bank. The Starlink Performance (Gen 3) power supply accepts 12–56V DC directly. All of these can run without a 120/230V inverter if you feed them DC — which is exactly what an off-grid system should do to avoid inverter losses.
Size the LiFePO4 battery
LiFePO4 is the right chemistry off-grid: it tolerates deep discharge (80–90% usable), has a long cycle life, and stays efficient in the cold better than lead-acid. Size the bank in watt-hours: daily load (Wh) × days of autonomy ÷ depth of discharge ÷ system voltage. Example: a Mini at 40 W for 12 hours = 480 Wh/day. For two days autonomy at 80% DoD on 12V: (480 × 2) ÷ 0.8 ÷ 12 ≈ 100 Ah. A Gen3 at 100 W for 12 hours = 1,200 Wh/day → about 250 Ah for two days. Add your router, a DC-DC injector and any other loads to the same calculation. For a planning method and autonomy rules, see our off-grid solutions page.
Size the solar array
Solar should replace what the battery loses. Rule of thumb: panel watts × peak sun hours × ~0.75 system efficiency = daily Wh. In a sunny region with 5 PSH, 200 W of panel yields about 750 Wh/day. For the 480 Wh Mini example, ~150–200 W is enough in summer; in a cloudy 3 PSH region you would need ~250 W. A common off-grid pairing is 300–600 W of roof or suitcase panels with an MPPT controller, which beats PWM by 10–30% in partial sun. Adequate solar also extends battery life by keeping the bank topped up rather than deeply cycled day after day.
Add a DC-DC charger from the vehicle
If the system lives in a vehicle, RV or boat, a DC-DC charger from the alternator refills the house battery while you drive — often the most reliable source on transit days. A 40–60 A unit adds roughly 500–750 Wh per hour of driving into a 12V bank. The DC-DC stage also protects a modern smart alternator and applies a correct lithium charge profile; wiring it straight to the starter battery without DC-DC risks undercharging or overheating the alternator. Use a Class-T fuse on the main positive near the battery.
When you do need a pure-sine inverter
If you run an AC-only Starlink brick (Gen2/Standard without a DC option) or want 120/230V outlets, use a pure-sine inverter — modified-sine units can upset sensitive electronics. Size it for continuous load plus startup surge: 300–500 W covers a Mini/Gen3 and a laptop; 1,000–2,000 W suits cooking or tools. Pure sine is required for the older Performance (Gen 2) DC path per Starlink's own guidance; the Gen3 accepts DC directly and needs no inverter.
Runtime estimates
| Setup | Load | 100 Ah 12V LiFePO4 (80% usable) |
|---|---|---|
| Mini, 12V | ~40 W | roughly 24 hours |
| Gen3 + DC-DC injector | ~100 W | roughly 10 hours |
| Gen3 on 500 W inverter (plus losses) | ~120 W | roughly 8 hours |
These are starting points; real runtime depends on temperature, cable loss and how much solar or driving recharge you add.
Temperature, safety and a sample build
LiFePO4 charges poorly below 0°C, so keep the bank inside a heated compartment or choose self-heating cells in cold climates; never charge a frozen pack. Fuse every positive feed within inches of the source, use tinned copper wire sized for the measured run, and keep DC and AC wiring separated. A representative 12V Mini build for a weekend RV: one 100 Ah LiFePO4, 200 W of suitcase solar with MPPT, a 40 A DC-DC charger from the alternator, and a 12V car charger at the dish — no inverter required. Scale the same pattern up for a Gen3 by swapping the 12V car charger for a DC-DC PoE injector and moving to a 250–300 Ah bank; the wiring topology stays identical.
Wiring description
- Starter/alternator → 40–60 A DC-DC charger → house LiFePO4 (Class-T fuse on positive).
- Solar panels → MPPT controller → house battery (fused).
- House battery → DC-DC PoE injector → Starlink Gen3, or → 12V car charger → Mini.
- If AC is needed: house battery → pure-sine inverter → Starlink AC brick.
- Bond the negative bus to the vehicle/boat DC ground; isolate the Starlink mount from aluminum with nylon washers.
Choosing the right supply is detailed in our 12V/24V/AC selection guide, and our RV solution page shows a complete mobile build. For portable setups also see portable solutions.
Data references
Off-grid load and battery sizing method: CampPowerCalc – off-grid RV power calculation. LiFePO4 sizing and DC-DC charging: Sapphire Battery – LiFePO4 sizing FAQ. Solar and MPPT guidance: LiFePO4 outdoor charging guide.
Frequently Asked Questions
Do I need an inverter for Starlink off-grid?
Only for AC-only bricks. The Mini runs on 12V, Gen3 runs via a DC-DC PoE injector, and Performance (Gen 3) accepts 12–56V DC directly. Use a pure-sine inverter if you must run AC.
How big a LiFePO4 battery do I need?
Size by watt-hours: daily load × autonomy days ÷ DoD ÷ voltage. A Mini at 40 W for 12 h (~480 Wh) needs about 100 Ah (12V, 2 days, 80% DoD); a Gen3 at 100 W needs about 250 Ah.
How much solar is enough?
Panels × peak sun hours × ~0.75 efficiency = daily Wh. About 150–250 W covers a Mini in most regions; 300–600 W is common for a Gen3 with other loads. Add a DC-DC charger for driving days.
Why a DC-DC charger from the alternator?
It refills the house battery while driving, protects a smart alternator, and applies a correct lithium profile. A 40–60 A unit adds roughly 500–750 Wh per driving hour.
Starlink is a trademark of SpaceX. PLZTECH supplies independent accessories compatible with Starlink terminals and is not affiliated with or endorsed by SpaceX.